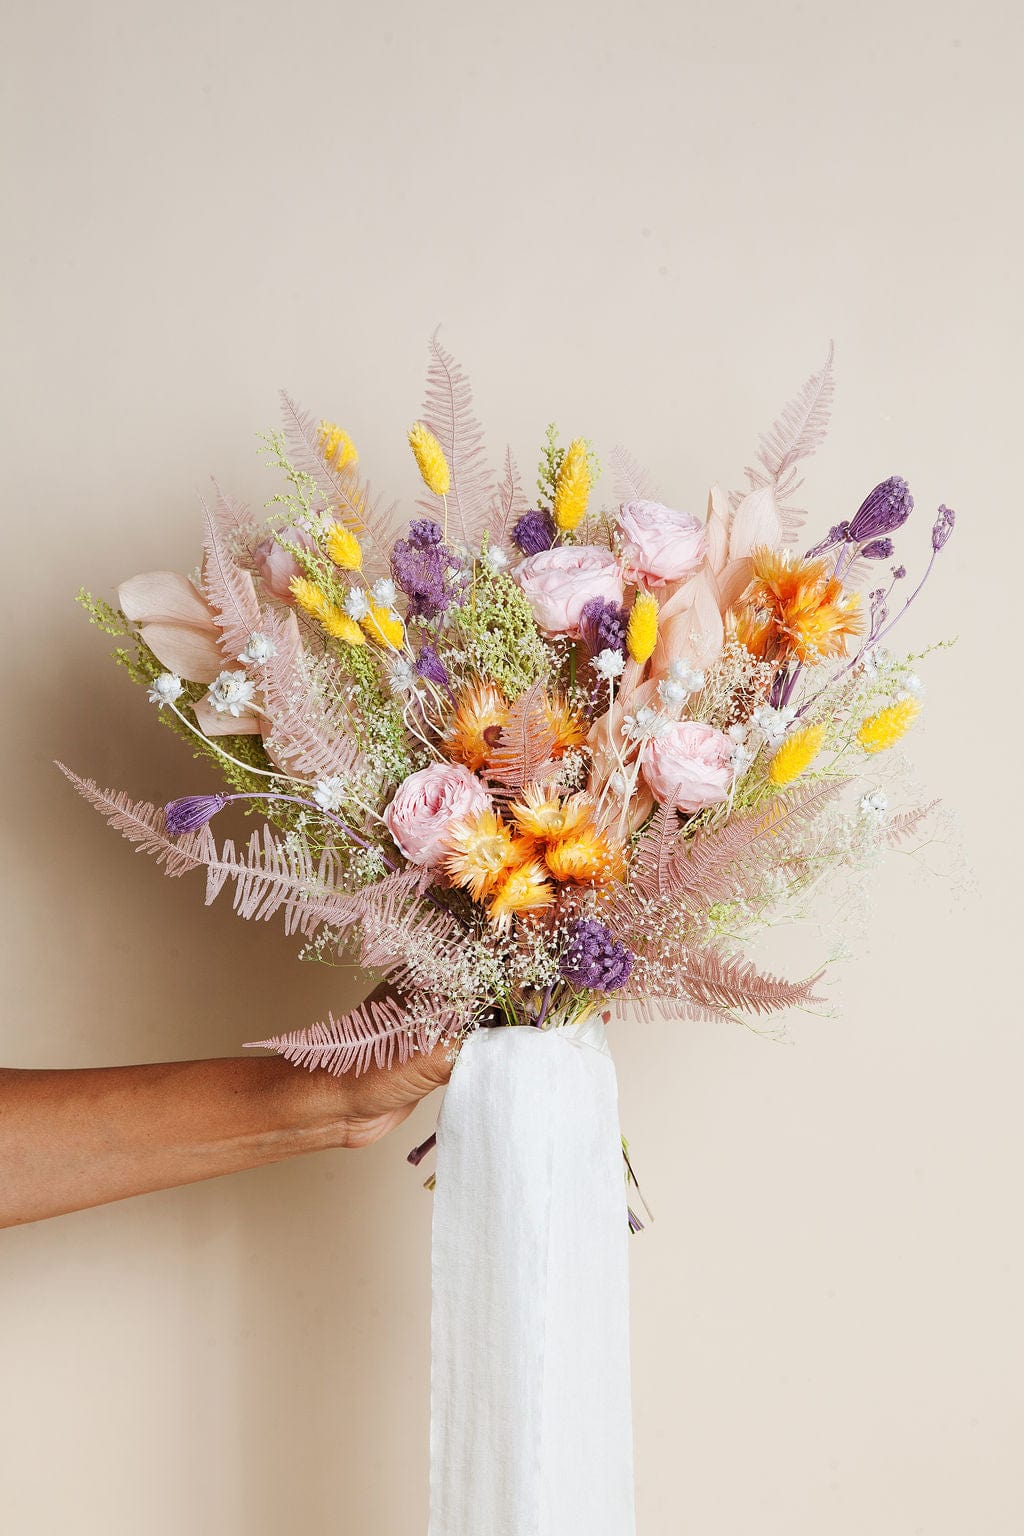
How to Dry and Preserve Flowers
The process of drying flowers is nothing new, the desire to hold on to a flower's fleeting beauty a little longer has been around for ages. Dried flowers have come in and out of style, peaking and then receding in popularity in the 70’s and 80’s, and in recent years they’ve been making a come back. I credit this to the increase in varieties available, new methods of preserving and coloring them and a desire for a more sustainable alternative to their highly disposable and thirsty fresh flower counterparts.

If you’re ready to give drying flowers a go there are lots of methods to experiment with, and once dried they’ll last essentially forever - although I recommend giving them a year before tossing them in the green waste and refreshing them at home.
One note that applies to all methods of drying flowers : The temptation to dry a beloved flower arrangement once it has passed it’s peak is where most people start to experiment with drying flowers, but the best time to dry flowers is when they’ve just opened their blooms and are still perky. Harvest your flowers when they’re fully open but not to the point where the petals become soft and begin to fall off easily.
1. How to Air Dry Flowers : This is the simplest method for preserving your flowers. Consider that the shape the flower stems take while drying will be the shape they keep, play with letting flowers dry standing up in an empty vase and see how the stems take shape, lay them flat on a dry surface and mold the stem gently into arches and s-curves, or simply hang bundled flowers upside down for a straight stem. A completely dry room with no direct sunlight is the ideal environment, but a humid room works just as well though the process will take longer and you’ll want to space your flowers out more to prevent rotting. The best candidates for air drying are hardy varieties with sturdy stems. Straw Flowers, Grasses and Grains, Hydrangea and Roses.
2. How to Press Flowers : A flower press can be made with two squares of plywood with two sheets of wax or parchment paper in between, connected at 4 corners with wing nut screws & bolts, or simply a heavy book with something to weight it down. Press your flowers in-between the layers of wax paper and, depending on the size and thickness of the material, you’ll have perfectly flat dried flowers in days or weeks. The best candidates for pressing are delicate specimens such as pansies, ferns, cosmos, borage, daisies and the petals of larger flowers like delphinium or roses. Pressed flowers don’t work in a vase arrangement because the stem often needs to be snipped off, but are gorgeous pressed to the sides of a frosted cake, as cookie toppers or attached to a place card for a special occasion.
To Dry Flowers with Silica Gel: This method will keep the petals of more delicate blooms like Roses and Mums from shriveling out of shape while drying. You’ll want to add a 1” layer of the Silica to a container that is a bit deeper than the flower heads you’ll be drying, place your blossoms face up in it and then fill the rest of the pan, covering the flowers completely. Leave the flowers to dry for 5-7 days and then gently take them out and brush them off.
To preserve flowers with Glycerine: Glycerine will give your flowers a soft, pliable feel and often keeps the natural shine of the foliage. Fill a bucket 2” deep with one part glycerine and two parts water, then place your cut flower stems in the solution. The glycerine will get wicked up into the stems, eventually replacing the water in the flowers, keeping them soft and pliable. The thickness of the stems and foliage you’re preserving will determine how long the process will take, ferns may take only a week while Magnolia or Hydrangea might take 4-6 weeks. Once the stems have absorbed the glycerine completely take them out of the solution and air dry them.
Adding Color : While all of these methods are great at prolonging the life of your flowers, they won’t preserve their vibrant colors, so I often like to add color back in during the process. Experiment with adding dye to a bucket of water and placing the fresh flower stems in overnight to let the dye seep up into the stems and blossoms. I also love dipping dried flowers into a bucket of dye or watered down paint, then hanging them upside down to dry again. There are wonderful eco-friendly plant based dyes and paints that make great candidates for coloring your flowers.
Drying flowers is not an exact science and takes a lot of patience, but the results can be surprising and delightful. I find the process of drying and then arranging my finished products mediative, and while I’ve had many failed experiments I’m always in awe of these gifts from nature and the ability to keep them a little while longer.


Leave a comment